Tip: How to use DiskUsage for Windows 10
DiskUsage is already integrated in the current build 21277 of Windows 10 (prerelease 201207-1443). As usual, remember that this is a pre-version of the operating system, and that it is still preferable not to use it as the main OS.
- To download this new build, you probably know the procedure to follow, but just in case, here is how to proceed:
- Click on the Windows 10 Start button, then select the Settings function symbolized by a small cogwheel.
- Go to the Update and Security feature.
- Then go to Windows Insider Program
- Press the Start button, then validate your registration to the program (it's completely free of charge).
- Make sure you have selected the Dev Channel in order to benefit from the latest Windows 10 build.
Once the new Windows 10 build is downloaded and installed, open a command prompt in administrator mode. To do this, type CMD in the search field on the taskbar, then right-click Command Prompt. Select the Run as administrator option. A warning message will appear, just click Yes.
Using the DiskUsage command is fairly simple, but the application is full of possibilities. Here is an example of a possible command:
diskusage /minFileSize=1073741824 /h c:\
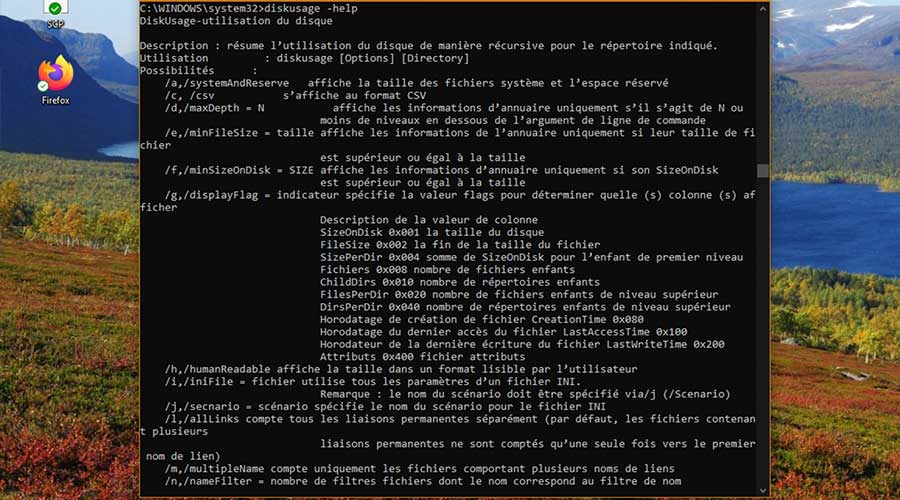
This command will display all files larger than 1 GB and located on the C partition. And to know everything about the options recognized by the software, enter the following command:
diskusage -help
Finally, if you don't want to install a Windows 10 pre-release on your PC, this new feature will most likely be included in the next finalized version of Windows 10. The 21H1 edition of the operating system will be deployed next spring.
Source: Phonandroid.com